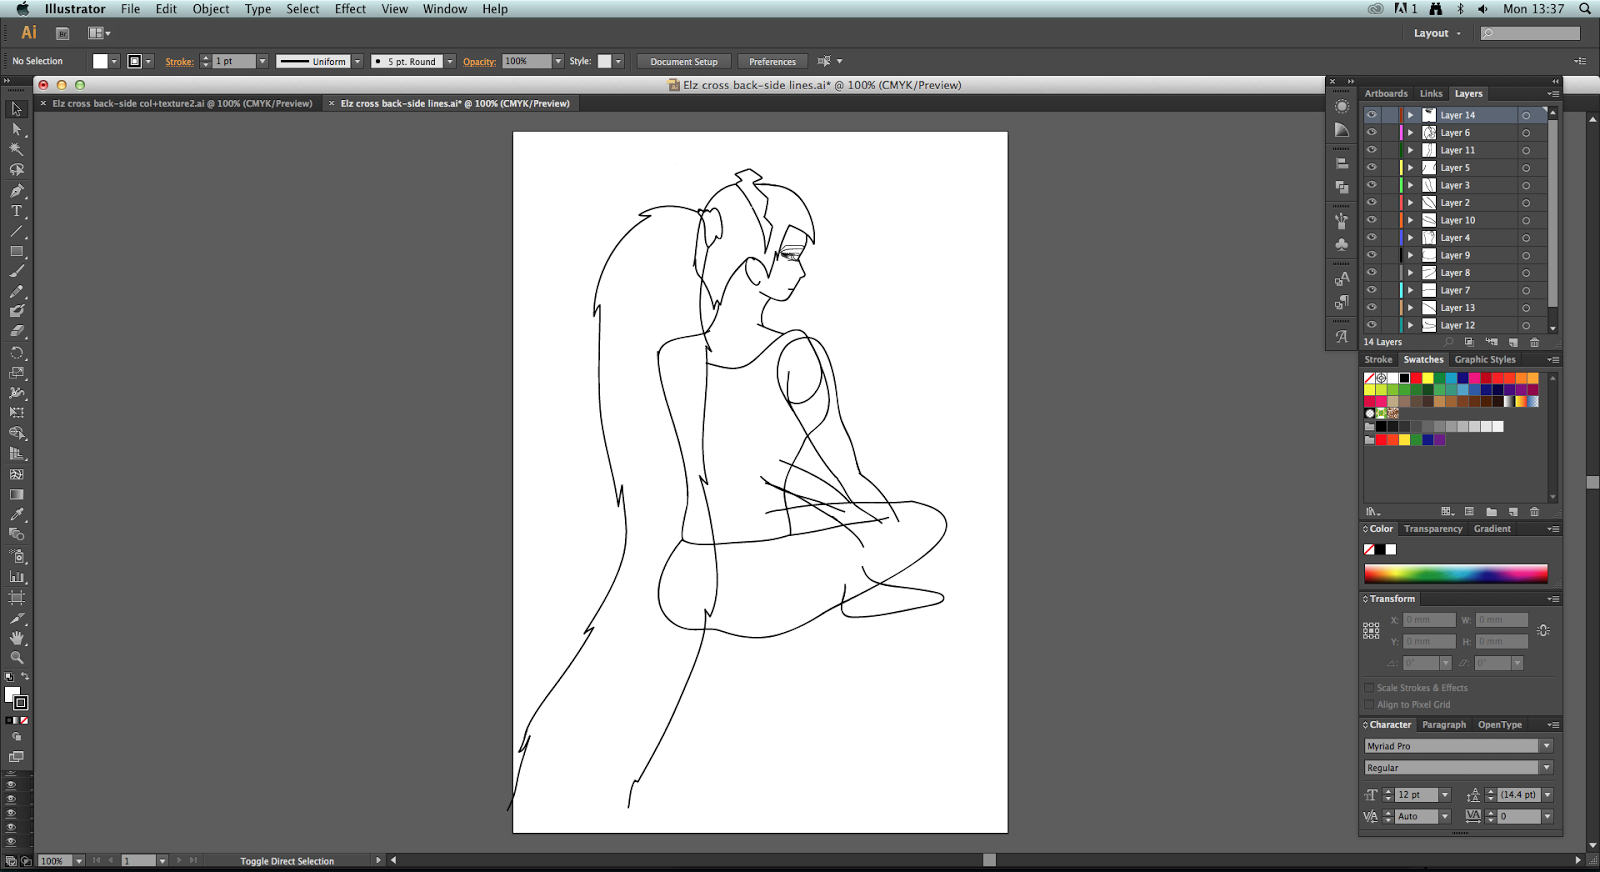
Firstly, I placed my scanned hand drawing into Illustrator. I traced my drawing using the paintbrush tool to create clear and strong lines, with each body part on separate layers.
I then exported this file into Photoshop, and used images with creative commons licensing, so that I was allowed to use and alter them freely, to give my character colours and textures.
In my previous animation sample I had only used block colours for my character, and I feel that now, using texture, this created more depth and detail to the characters appearance.
Once I had finished this, saved the Photoshop file as an Illustrator file and opened it up in Flash, so that all the layers were still separate. This enabled me to use the character rigging technique, which I have made a previous post explaining, and moved the anchor points of the different layers and body arts so that they will be a lot easier to animate in Flash.


No comments:
Post a Comment